
Ah, the thrill of the hunt, my friends. The rush of adrenaline as you navigate the treacherous waters of WiFi penetration testing. And at the heart of it all is the Esp8266 Deauther’s web interface – a veritable playground for the curious and the brave.
Disclaimer: Before we begin, let us issue a caveat: this guide is intended solely for WiFi penetration testing on your own network or networks that you have explicit permission to test. We repeat: do not use these tools to test unsecured networks without permission from the network owner. That’s just plain rude.
Now, onto the fun stuff!
Connected to the ESP8266 Deauther
To access the Deauther’s web interface, simply connect your device to the “pwned” WiFi network. Ah, but what about the password? Don’t worry, it’s a simple affair: “deauther”. Yes, my friends, all lowercase. Case sensitivity is important here, so make sure you type it correctly.
The ESP8266 Deauther Web Interface: A Tour
To access the web interface, open your browser and connect to http://192.168.4.1. Make sure you are not connected to a VPN or anything else that could hinder the connection to the device. You may have to temporarily disable the mobile connection on some phones to make this work.
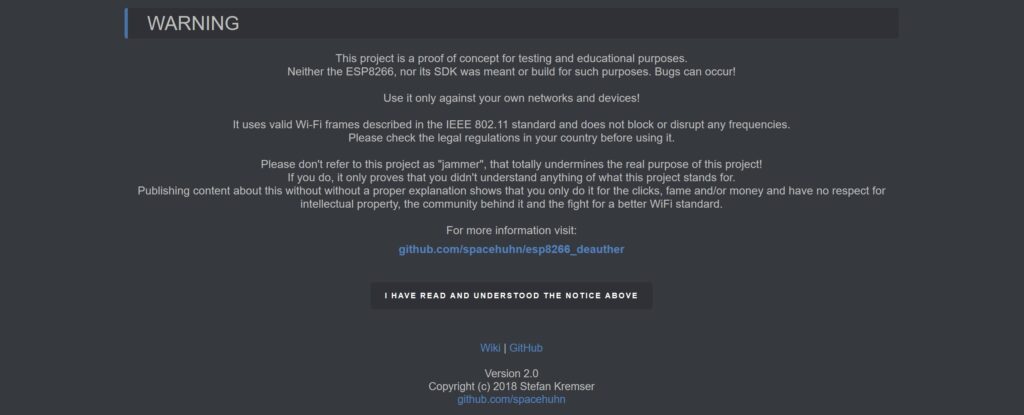
Once connected, you’ll be greeted by the Home/Warning page. Take a moment to read the notice carefully: this device is for educational and testing purposes only. Click on the “I understand” button to acknowledge that you’re aware of its limitations.
Scan Page

From here, you can initiate scans using the Scan Page. You have two options: Access Points (APs) or Stations (Client Devices). Select the type of scan you want to run, and click the corresponding button. A scan takes only 2-5 seconds, so be patient – it’s worth the wait. Once the scan is complete, click the reload button to view the results.
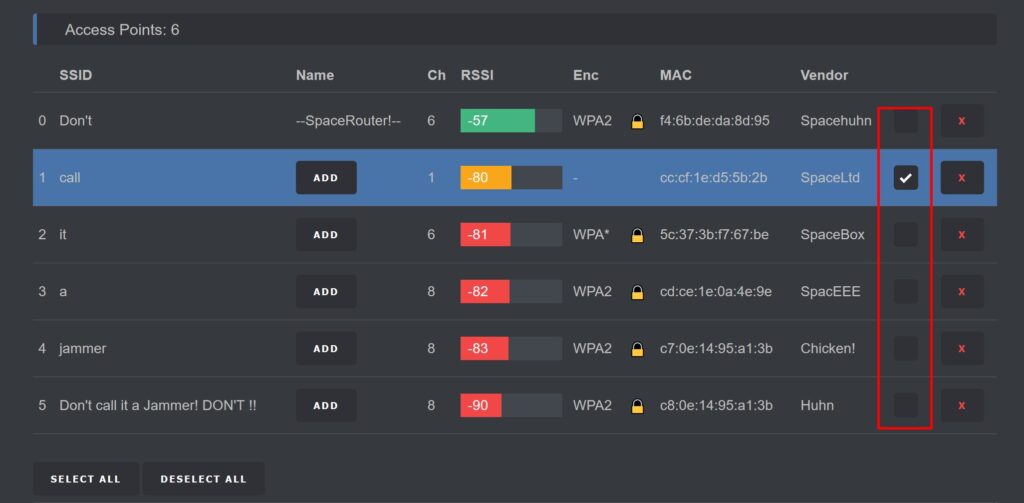
You can select multiple targets for an attack, but we recommend choosing just one for stability and performance.
Important: When running station scans, the web interface will become unavailable until the scan is finished. Be patient, my friends – it’s a small price to pay for the thrill of penetration testing.
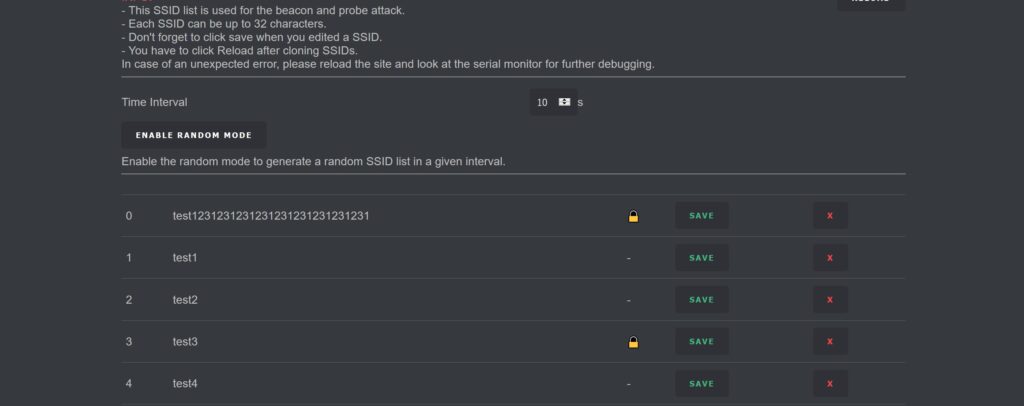
SSID Page
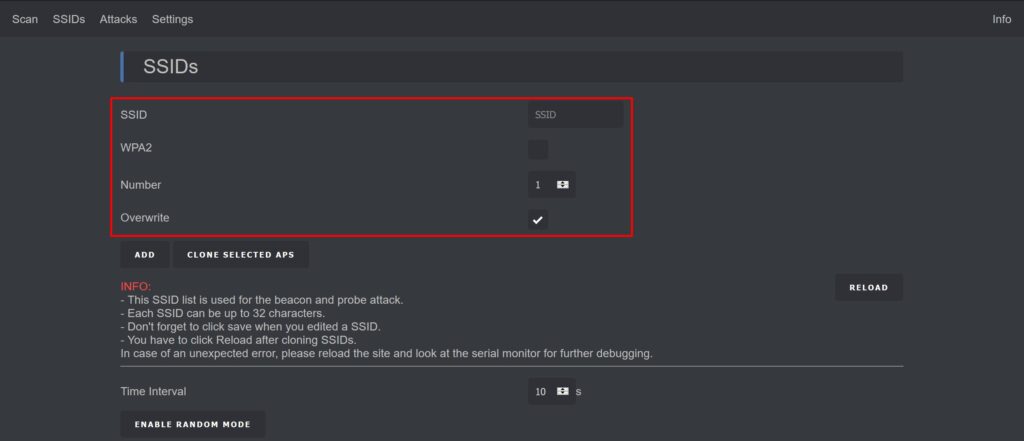
The SSID Page is where you can add, edit, or remove SSIDs used in Beacon and Probe attacks. This is an essential feature, so take some time to familiarize yourself with it.
Attack Page
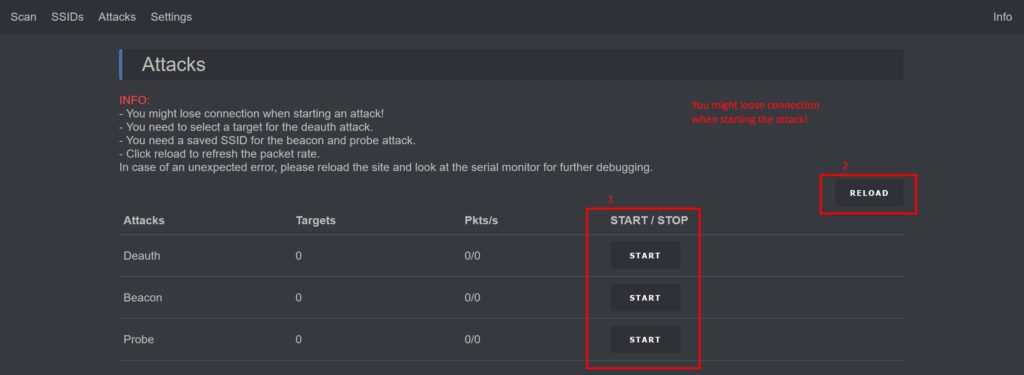
This is where the action happens: Deauth, Beacon, and Probe attacks await your command. Select the type of attack you want to launch, and configure the settings accordingly. Remember, when using this device, always select your own network or networks you have permission to test – we don’t want any unwanted attention from the authorities.
Settings Page
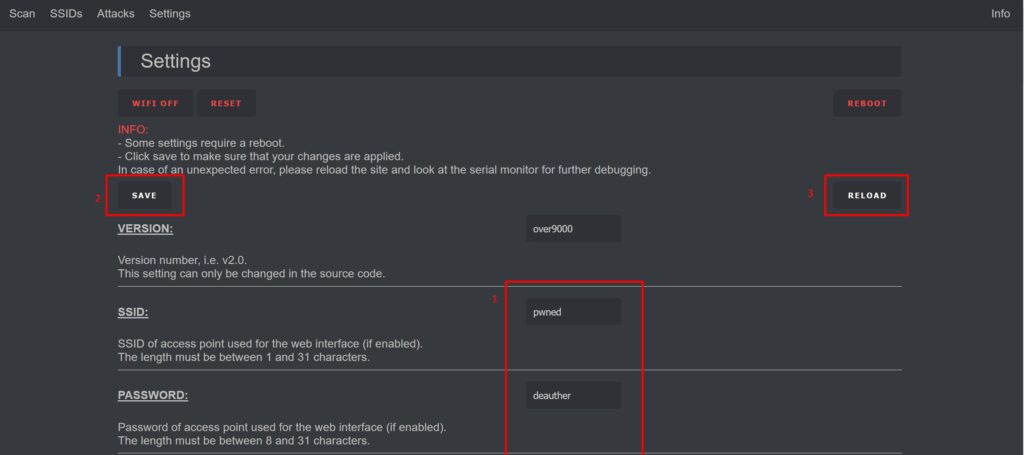
The Settings Page is where you can customize the SSID and password for the “pwned” network. Yes, my friends, these are the default settings – but feel free to change them if you’re feeling adventurous.
If you are looking to scoop up your own Deauther pre-configured, Head over to our shop and grab one.
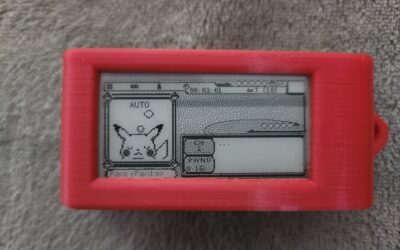
If you’re just looking for a 3d printed case, we have you covered in the shop also!
And there you have it, folks! With the Deauther’s web interface, you’ll be well-equipped to tackle even the most daunting WiFi penetration testing challenges. For complete documentation you can visit https://deauther.com/docs/usage/web Just remember: use this tool responsibly, and always follow local laws and regulations. Now, if you’ll excuse me, I have some networks to crack…


0 Comments